Modern-day bamboo fly rods
Every keen angler should fish the evening rise with a split cane rod at least once in their lifetime, says Matt Kidd after a visit to Gavin Haywood’s workshop.
Any fisherman who has ever tied a fly will tell you there is no better feeling than when the intended quarry engulfs it. Those prior moments of anticipation and excitement, and the surge of adrenaline that accompanies a take make those minutes (or hours) at the tying bench totally worthwhile.
It is no surprise then that for many, fly tying becomes an obsession – I for one can put my hand up and admit to being guilty. But can you imagine what it is like to catch a fish on a self-built rod?
In an effort to find out, I visited part-time rod builder Gavin Haywood in his workshop at the bottom of his garden in Kent. “Words alone cannot sum up exactly how I felt when I caught my first fish on a rod I built myself, but immense pride, excitement, achievement and satisfaction all combined in a way I have not experienced before,” explained Gavin (46). “In fact, the only experience to have ever topped it was a face-to-face confrontation with a killer whale when scuba diving in my 20s.”
Gavin started building fly rods in 2002. “I would buy carbon blanks, whip on the rings, fit the cork handle and reel seat, and so on,” he said. “They would take no time at all to put together and I was very happy with them. In 2015, though, an old boy on my local reservoir borrowed one for a few casts and, liking the action and finish, asked me who had made it. I told him I had, but he wasn’t having any of it. ‘You can only say you have built a rod when you have built one from bamboo!’” he told me. “A bit miffed, I told him that I could, of course.”
In reality, Gavin had little knowledge of what building a bamboo rod involved, but began researching on the internet. Whilst he found plenty of good information and forums, there was one book that was constantly being referred to – A Master’s Guide to Building a Bamboo Fly Rod, by Everett Garrison and Hoagy Carmichael, first published in 1977. “It is a huge, beautifully illustrated book that is known to many as the ‘Bible’ of bamboo rod building. It has advice on everything, from choosing the bamboo to varnishing,” he explained.
“Building my first rod was by no means easy. In fact, it was incredibly difficult and even painful – you wouldn’t believe the size of the splinters you can get from bamboo!”
It took about two months for Gavin to finish his first bamboo rod – the speed of the process improved by the use of modern machinery and glues not included in the book, his great attention to detail, and ability to work with his hands (did I mention that he has been making rifles since 2006, too?). “I was very proud when I had completed it. It looked good and felt nice, but I wasn’t prepared for exactly how I would feel when using it to cover a rising fish for the first time. I became addicted to it.”
Today, Gavin has perfected his craft, completing a vast number of bamboo fly rods in the last three years (including saltwater and salmon rods) of a standard the likes of Hardy craftsmen of old would be proud of. Not only are the rods beautiful, but Gavin has even developed new methods and techniques that have actually improved their performance.
The modern-day split cane rod
If somebody told you that blow torches, metal lathes, ultra-precision calipers, and about your bodyweight in bamboo shavings were involved in the modern-day construction of a delightful, little split cane rod, would you believe them? Before I entered Gavin’s workshop, I certainly wouldn’t have.
In true Blue Peter style, Gavin had plenty of ‘here’s one I made earlier’ examples to illustrate the production stages involved in a single-handed two-piece trout rod (double-handed salmon rods essentially use the same processes but on a bigger scale).
Choosing a culm: The first and potentially the most important step is to pick the length of bamboo. Tonkin cane, Gavin’s preferred type of bamboo, is delivered from China in 12ft culms which are then halved to fit in the workshop. As it is a totally natural material, picking a perfect culm is paramount as there are many impurities such as scratches and rodent/insect holes that can render a culm useless.
The chosen culm is then split down its length using a large chisel. “One must take care here and ensure the split does not follow the grain,” said Gavin. “This was probably the hardest thing to get right at first.” Then, using a mallet and chisel, the nodes are knocked out of the inside.
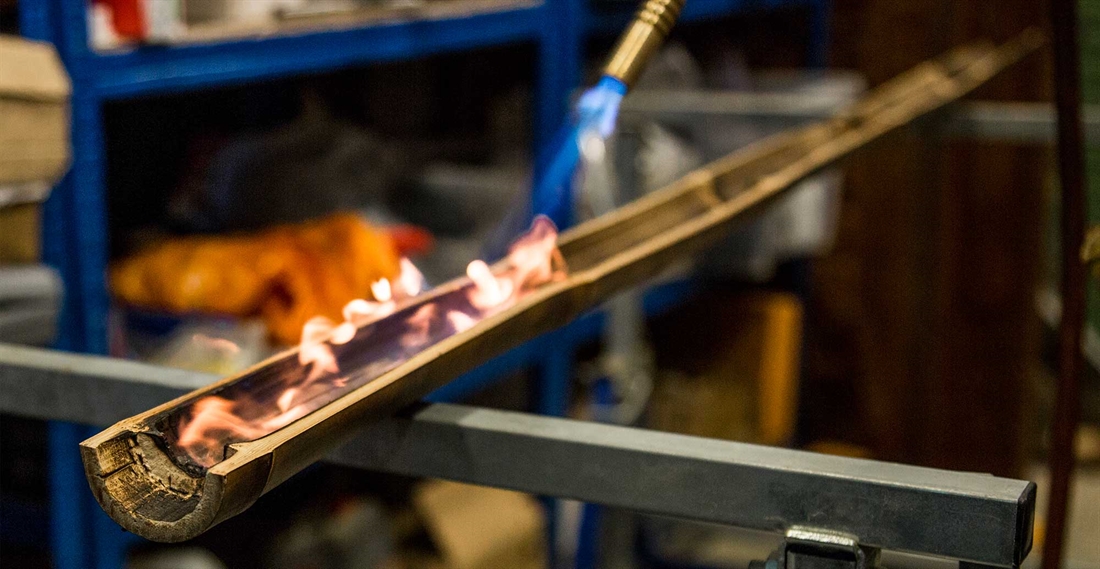
Choosing a finish: Surprisingly, at this stage a decision needs to be made with regards to the finish. If a blonde rod is desired (one that will remain a pale yellow colour) each half will be split a further six times to create 12 even strips in total. If a tortoiseshell finish is preferred, then the halves need to be flamed all over with a blow torch. Done carefully, this process dries out the bamboo which strengthens and hardens the material considerably. Then the torched halves are split in the same way as the blonde halves.
Configuration: Next, Gavin carefully selects the best strips and throws away any poor ones. “A two-piece rod can use as little as eight strips (quad configuration) or as many as 16 (octagonal configuration) depending on the desired action or the client’s specification. In general, the fewer the strips, the faster the action.”
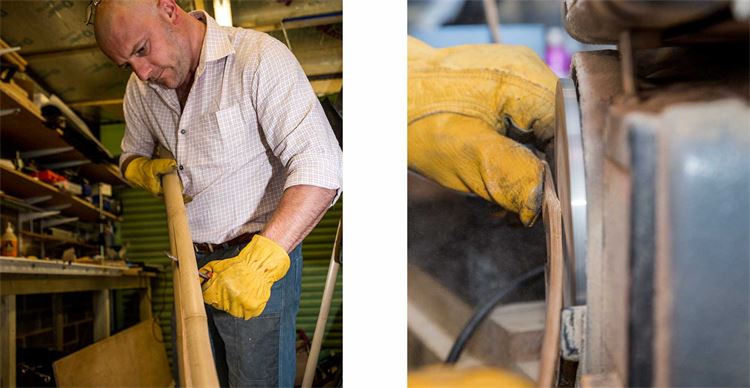
The blonde strips are then placed in a makeshift oven for 30 minutes at a temperature of 120°C to harden the material without changing its colour, before a sander is used to remove the enamel from the outside of the bamboo and smoothen the inside.
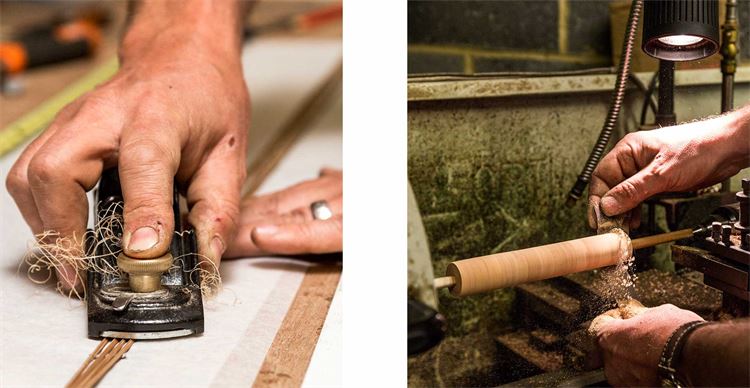
Following this, using a sharp wood plane, Gavin will begin to shape the strips in the adjustable steel form. The angle at which the strips need to be depends on the configuration of the rod, which can involve working to minute tolerances of 0.001″.
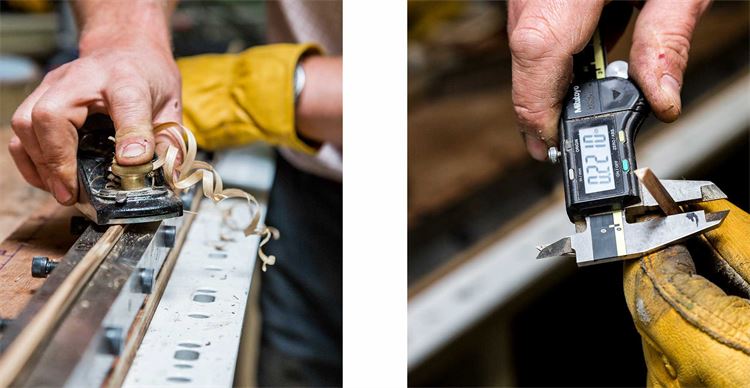
Straightening nodes and planing down: Where there are nodes in the poles, there will also be kinks, and these must by straightened. Each node is heated with a heatgun to make it mouldable by hand. Gavin will then reinspect each strip with electronic calipers before planing down to the final measurements, checking that the taper is correct for every 5″ of section. Once completed, the centre of the strips are typically ‘planed out’ to create a hollow section, which is what makes the action ultra-fast for a split cane rod – close to that of a modern carbon rod.
Gluing and binding: The next stage is to glue the strips together and bind them tightly with linen. The glue will harden in 24 hours, after which the linen can be removed and the excess glue scraped away with a razor blade. “The ‘blank’ is sanded down by hand with coarse to fine papers, finishing with 1,000-grit. After this, the surface will feel like glass,” said Gavin.
Adding ferrules: To add traditional metal ferrules, the section is turned on the lathe to create a cylindrical profile for a flush fit. The ferrule undergoes a little thinning on the lathe, too, as they are thick and cumbersome if used straight from the factory. These are then glued in place.
Rod rings: “Rod rings are then whipped to the rod using silk, and their distance mapped by a formula determined by the length and weight of the rod. I actually have a secret method of whipping the rings, which when varnished gives the appearance that there is only one turn of silk holding them on,” Gavin revealed. For a personal touch, he then writes the rod specifications, number and his signature in Indian ink on the butt section.
Varnishing: The rod is varnished in a long dipping tube. This is turned and drawn out of the tube very slowly to prevent bubbles, taking approximately 1 hour. It is then hung and left to dry for three months before the butt section is turned on the lathe to add the handle. One-inch pieces of cork are glued in place until it is the desired length. The cork is then turned on the lathe until it is the desired shape, e.g. cigar, straight-hand etc.

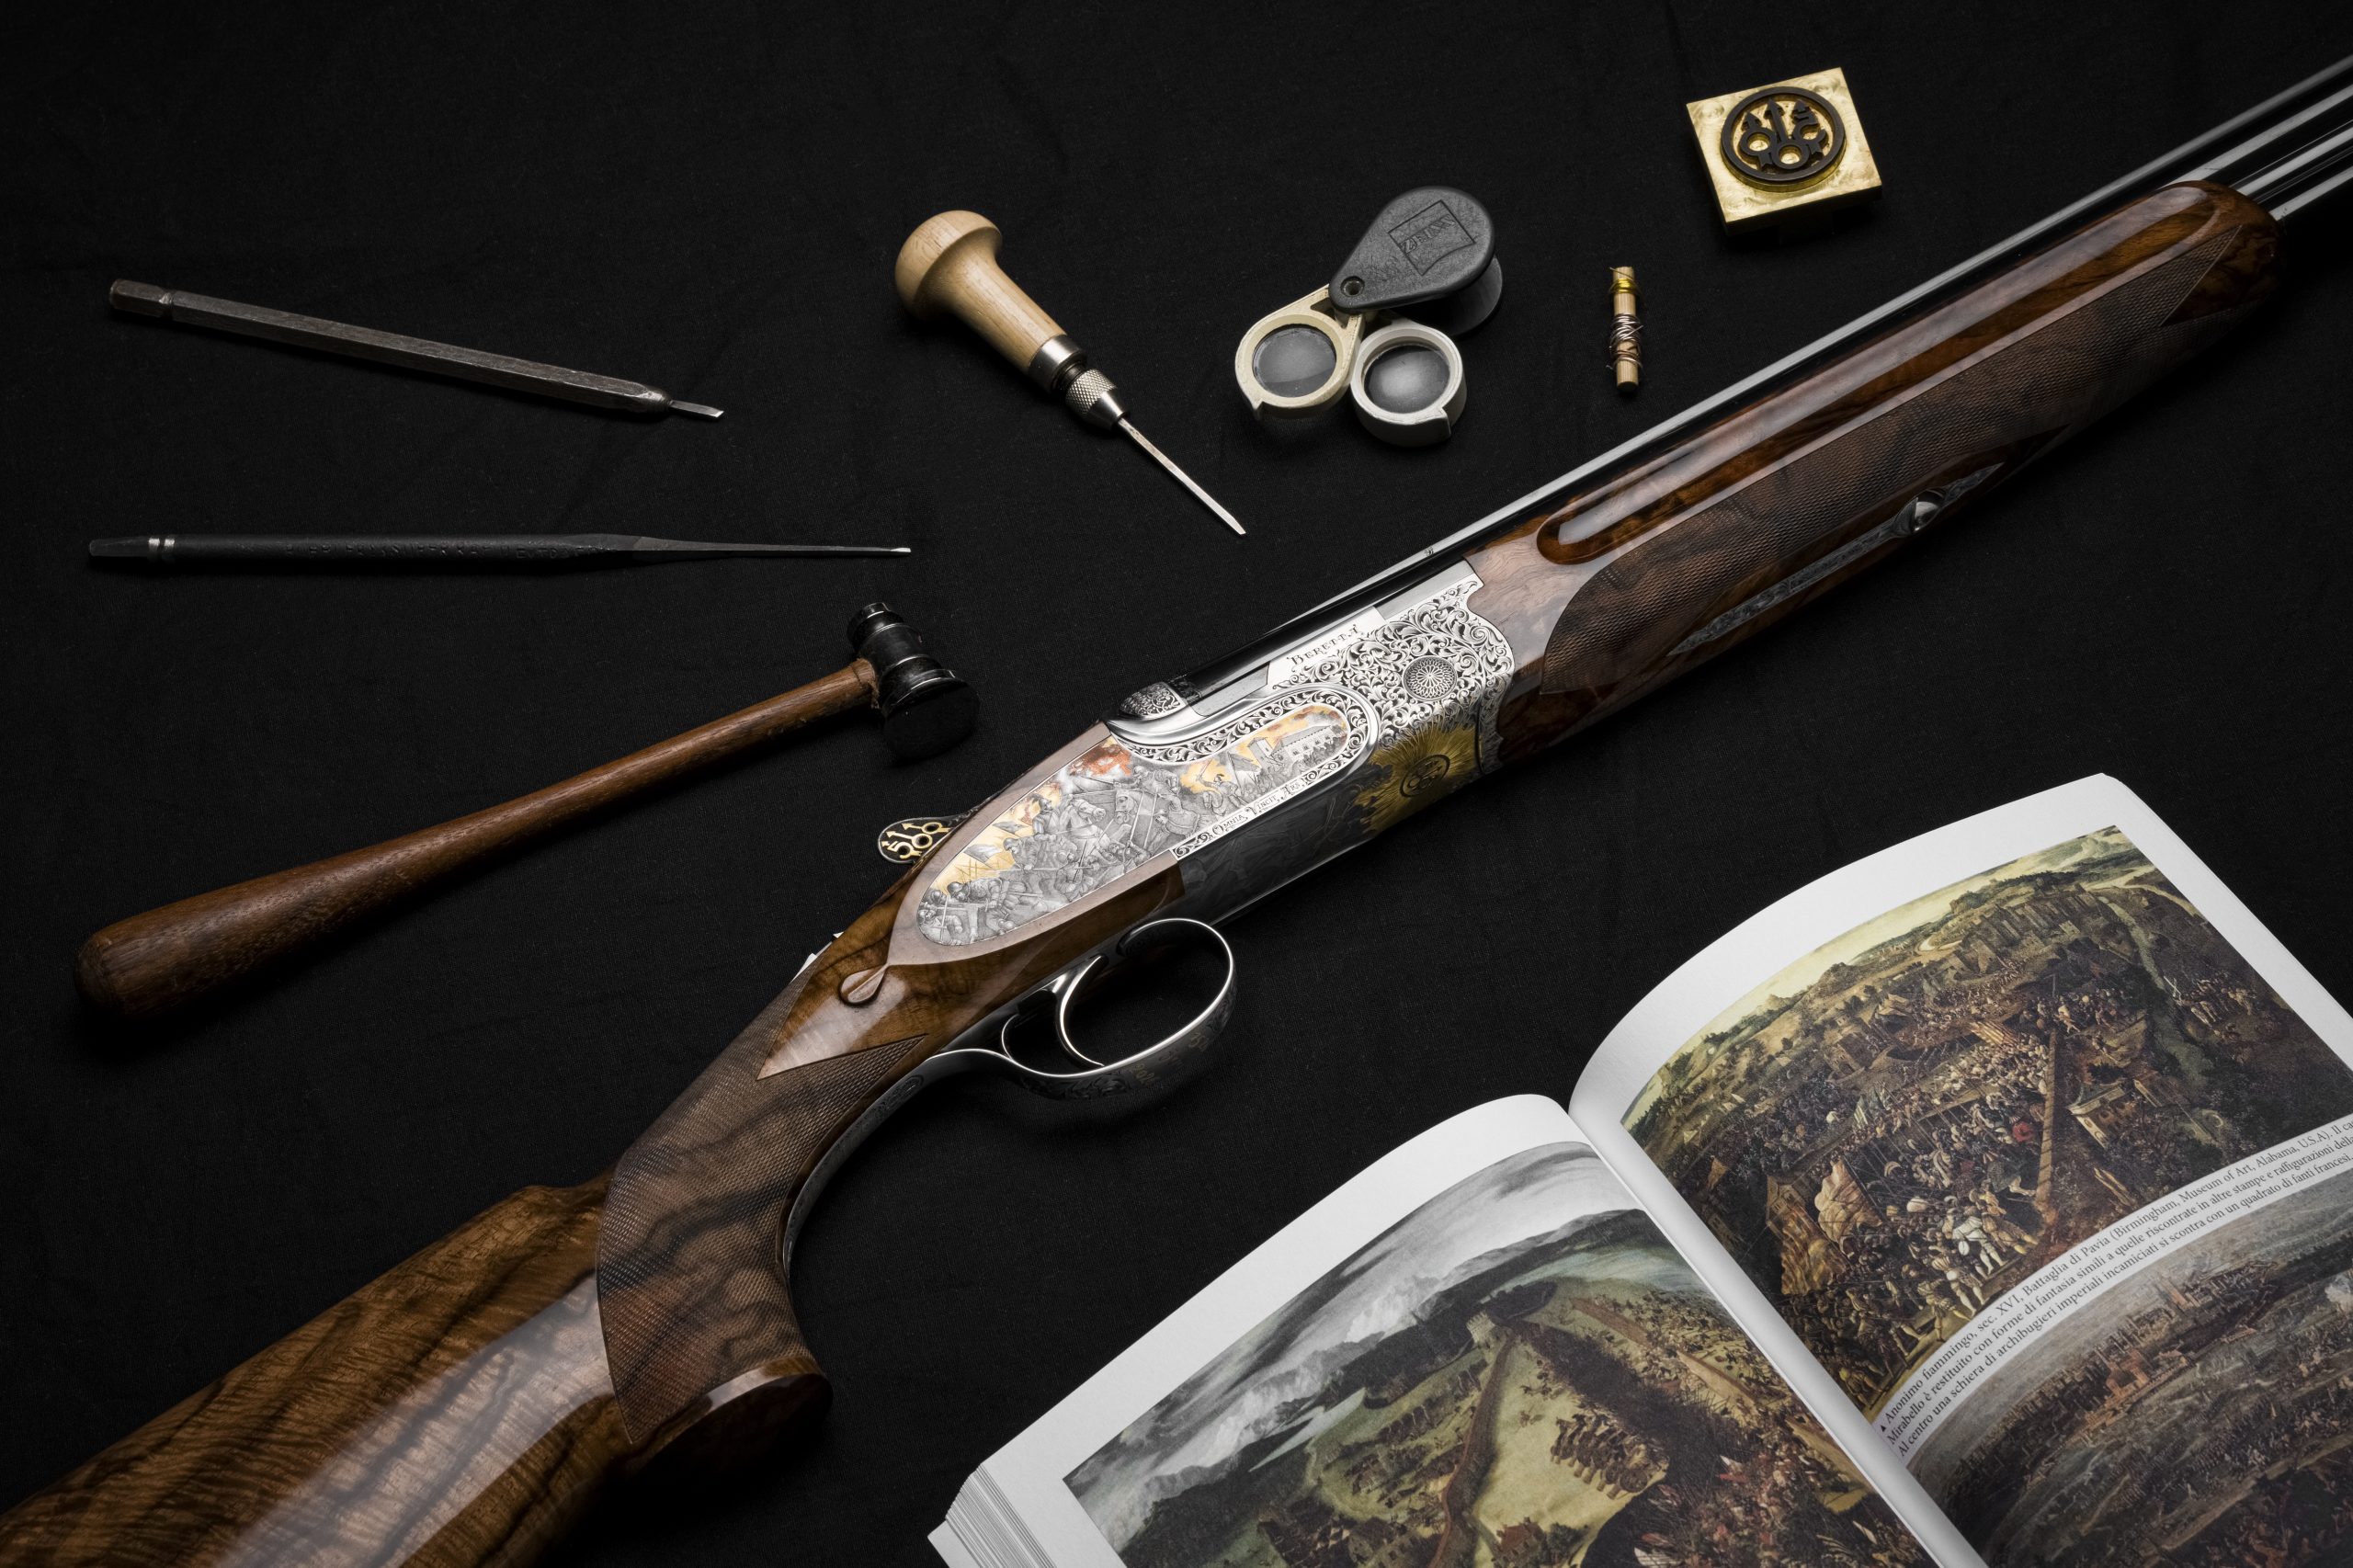
The reel seat: The final stage is to add the reel seat. Whilst Gavin can and does make his own reel seats for clients, he does offer a premium option, too. These are engraved in a beautiful, classic acanthus pattern by Joanne Ryall, one of the finest engravers in the world.
In man hours, the minimum completion time of one of Gavin’s bamboo rods is 120 hours, with many examples exceeding 200 hours. It is no surprise then that prices start at £800 – very little for a unique piece of useable art.
On test
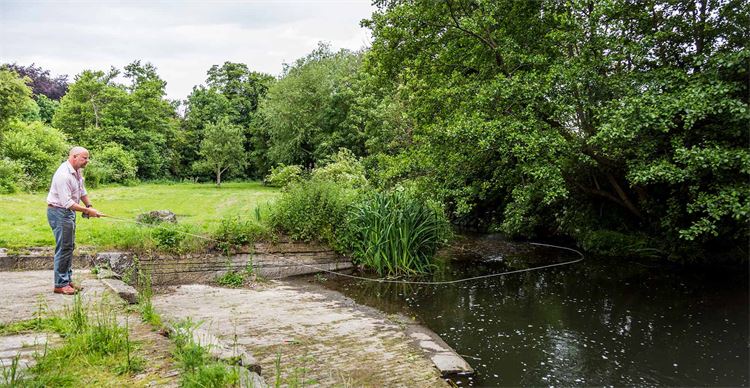
A full day of taking notes and keeping up with Gavin’s extreme pace of doing everything meant that I was at risk of getting RSI in my wrist. But after being offered the chance to try out one of his rods on a little chalkstream that runs underneath his mother-in-law’s home, the aches were forgotten sooner than you can say bamboo.
The sun was casting a warm glow as we pulled up besides the rushes, and by the time a line had been threaded through the rings I was quite excited.
We were using a 5wt, but it was so nimble you could feel the line gliding through the air with every flick, so unlike a rod made with modern materials. However, the timing of the cast was relatively similar to my own rods. And they are incredibly beautiful to look at, especially when paired with an antique reel.
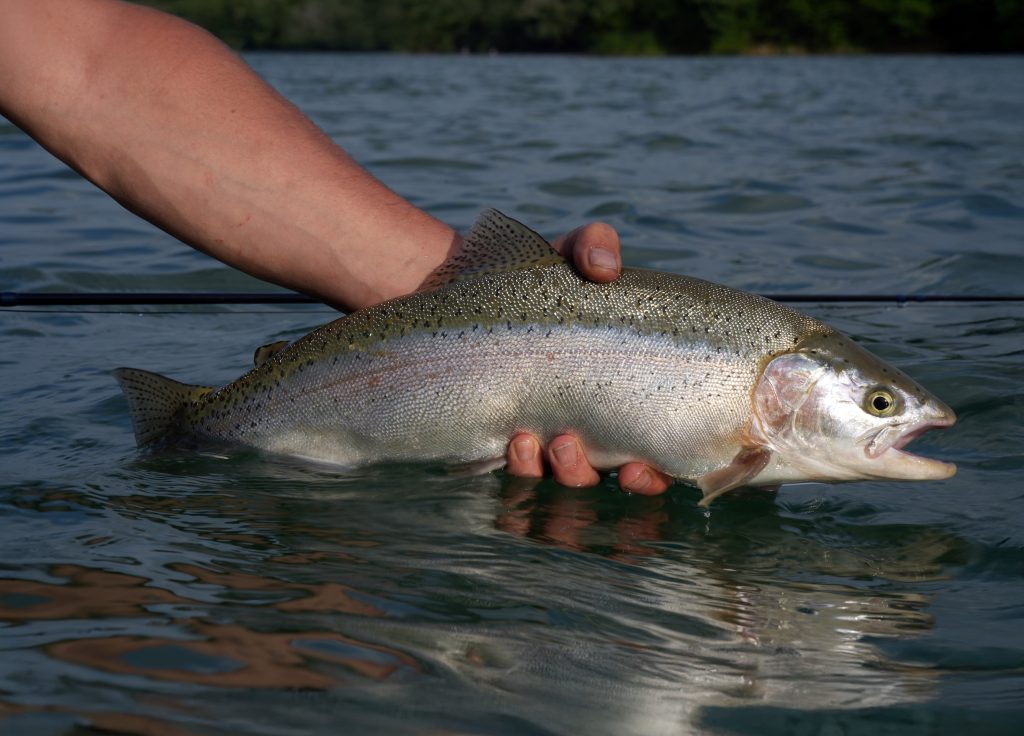
“Whilst they are light and feel delicate, they are a lot stronger than one might think,” explained Gavin. “I have used them around the world and have caught trout, salmon, carp and even mahseer with them – fish of up to 10lb. And if one does break, more often than not it is relatively easy to fix.”
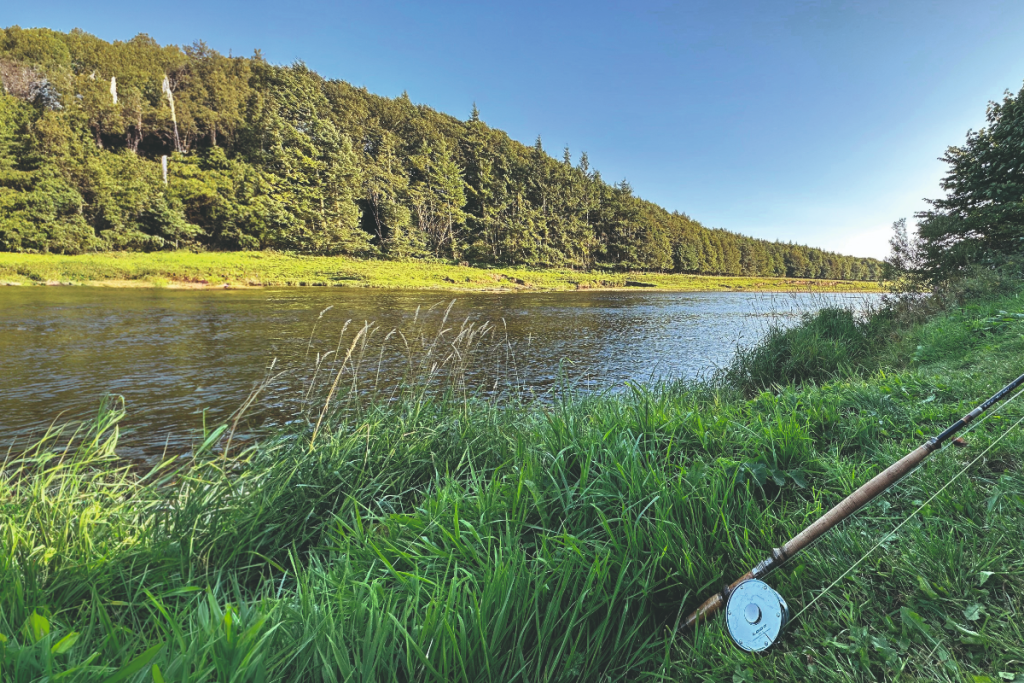
No, I wouldn’t trade in my carbon rods for a bamboo specimen for a morning on the reservoir or an afternoon of nymphing on the river, but I cannot think of a better way to fish the evening rise than with one of Gavin’s creations.
Related Articles
Fly fishing
In the land of the marble trout
Picturesque Slovenia offers a wealth of exciting fishing opportunities, particularly for trout enthusiasts. Here, Rasmus Ovesen finds grayling, rainbow trout, brown trout, and the much sought-after ma...
By Rasmus Ovesen
Fly fishing
Lower Makerstoun: beat profile
Sam Carlisle visits the Lower Makerstoun fishing beat on the Middle Tweed
By Fieldsports Journal
Get the latest news delivered direct to your door
Subscribe to Fieldsports Journal
Elevate your experience in the field with a subscription to Fieldsports Journal, the premium publication for passionate country sports enthusiasts. This bi-monthly journal delivers unparalleled coverage of game shooting, fishing and big game across the UK and beyond.
Each issue offers a stunning collection of in-depth features, expert opinions and world-class photography, all presented in a timeless yet contemporary design.
Save 16% on shop price when you subscribe, with a choice of packages that work for you. Choose from Print & Digital or Digital only with each journal delivered directly to your door or via the app every other month, plus access to past issues with the digital back issue library.