The countdown is on for The British Shooting Show – book tickets online today and save on gate price!
Gun fitting with Simon Ward
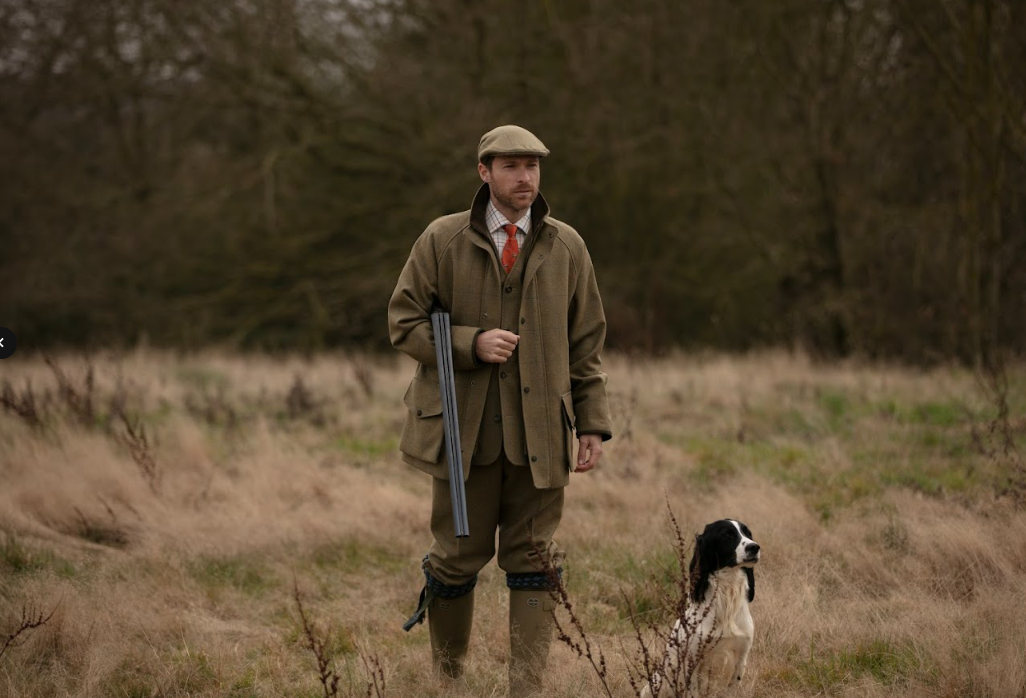
Simon Ward on the simple route to better shooting – getting your gun fitted. Here he explains the benefits of having a gun that fits you properly and what to look out for.
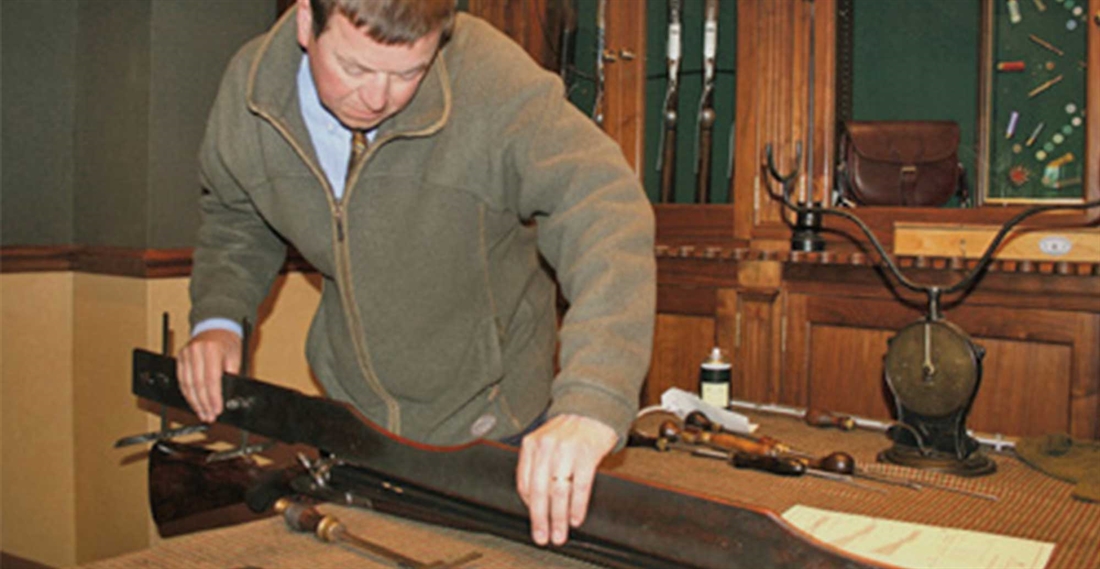
The Greats always knew it, but increasingly more and more shooters are discovering that gunfit holds an important key to good shooting. That said, having a gun professionally fitted will only be of real benefit if you have learnt to consistently mount your gun smoothly and accurately onto a moving object.
Physiologically, we are all different, so, in an ideal world, we would all shoot with bespoke gunstocks, built to fit our own unique shape and dimensions. However, this option isn’t available to the vast majority who either make do with grandfather’s old side-by-side or buy a standard off-the-shelf gun from a gun shop.
Understandably, most off-the-peg guns are produced with stock measurements to suit Mr. Average who happens to be 5ft 10″ tall, right-handed and of average build. But each manufacturer and model will have slightly different stock designs and dimensions, and even the same models can be slightly different. Guns made for sporting clays, for instance, will have a lower comb than those designed for trap shooting. And traditionally, the game model’s comb may be lower still.
A lot of people don’t realise that using an ill-fitting gun will not only make things difficult for you, but will also teach you bad habits. Over time, you will subconsciously make the required adjustments in mount and technique and you will get used to shooting in this manner. Therefore, I would suggest that if your technique needs any attention, you should address this first.
I mention this at the outset in order that you get the most out of your gunfit.
Stock length
There are three important stock measurements, but the one which most people refer to is the length, which is the distance from the trigger blade to the centre of the butt of the stock, normally ranging between 14½” to 15¼”. While these are average lengths, it should be remembered that ¼” can make a lot of difference to both comfort and accuracy.
You may be partridge shooting in a cotton shooting vest in early autumn, but by mid-winter you might be wearing thermals, a thick sweater and waterproof coat, which could add anything from 1/8” to ½”. To resolve this dilemma the simple solution is to have a recoil pad fitted into your shooting vest. This will automatically add anything up to ¼” which will compensate for not wearing your usual winter layers.
Gunmounting is difficult with a short stock – the gun is not so controllable and likely to give the user some knocks. While a stock which is too long will result in the user mounting the butt onto the end of his/her arm as opposed to in the shoulder pocket. In which case both the cast and drop measurements will work against you. Your master eye will be out of alignment at the breech, looking down the side of the rib rather than the centre. The eye will be lower than it should be, the drop measurement increased, the cast in effect reduced.
I mentioned that there were three stock measurements – centre, heel and toe. Reducing the toe measurement can be helpful for ladies or men who are fuller in the chest, and make it easier to achieve good contact in the shoulder pocket.
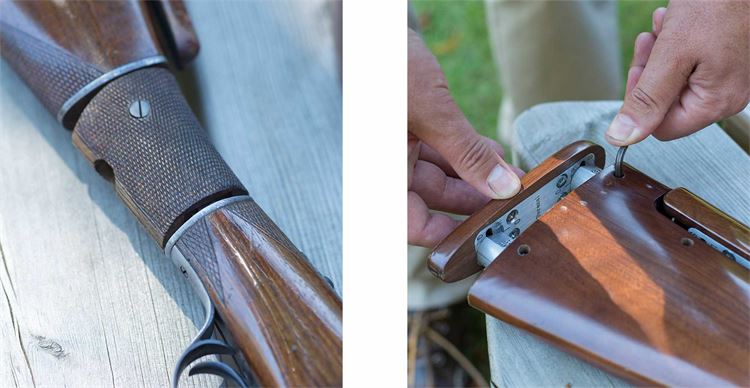
Length can be reduced or increased by either removing or adding a section of wood to the back of the stock (a good gunsmith will be able to do this very subtly) or by applying a thinner or thicker recoil pad or Kick-eez. This will depend on how much of an adjustment is needed
Cast
Cast is the sideways movement of the stock from the central line of the gun. Cast is referred to as ‘On’ for left and ‘Off’ for right, whilst there is cast at comb, face, heel and toe. Cast on your gun adjusts the east and west movement of your pattern.
The amount of cast needed is determined by the use of a try gun to make and take accurate measurements so that when the shooter’s eye is placed centrally over the breech with a natural head position, the gun fitter will make small adjustments until he sees the perfect eye/rib correlation.
The amount of cast on or off is wholly dependent on the shape and width of the Gun’s face, and what it takes to get the master eye in the correct position when the stock is correctly mounted. You tend to find that someone broad in the face requires considerably more cast at ‘face’ than someone who is slimmer, with more narrow facial features.
Drop
The drop measurement on your gun adjusts the north and south placement of your shot pattern. There are three measurements in drop – at comb (top of the stock), at face (midway position between nose of comb and heel of comb) and heel. In my eyes comb height is a crucial measurement in gunfit.
This is one measurement which makers of off-the-shelf side-by-sides and over-unders frequently get wrong. Unless we are talking about trap guns, the majority have too much drop in the comb. Generally, the length is okay, and for cast they tend to opt for standard measurements of 1/8” at comb, 1/16” heel and ¼” toe. But drop at heel can be anywhere from 1½” to 2½” – and the latter is simply far too low for most people, certainly when driven shooting. And remember just 1/8” out on the cast or drop measurement at face equates to the centre of the pattern being 6” off the target at 40 yards.
Too much drop results in the master eye looking at the top lever rather than the quarry, causing headlifting and subsequently the stock banging the cheek and resulting in a stopped swing. Small adjustments such as 1/16” can make a huge difference to the point of aim of your gun – at 40 yards we are talking about the difference between killing a partridge and wounding or missing it underneath.
For the game Shot who specialises in grouse, I would suggest the comb height be set so that half the pattern is placed above and half below the aiming mark at 40 yards. For the driven pheasant Shot, I would suggest that the comb height is set a little higher i.e. 2/3 above and 1/3 below. This results in the pattern being thrown a little higher than the aiming mark at 40 yards in the field, thus reducing the chance of wounding rising/crossing birds and enables the Gun to see a little more of the bird in flight.
Gun fitting and try guns
When you visit a shooting school for an appointment with a professional gunfitter be prepared for a 2–3 hour session. As soon as you walk through the door he will be making an assessment of your height and body shape in order to set up the try gun for an approximate fit to yourself. Then he will ask you to dry mount the gun and if he sees any imperfection in your gun mounting skills his task will be to rectify them before using the try gun.
The try gun has three key adjustments – length, cast and drop. The fitter will also look at your gun to check the measurements, and if he finds that length and cast are okay but spots that there is a little too much drop at face, he may well opt to put the try gun to one side. Instead, he will achieve the correct amount of drop by using comb raisers (easily attached to the stock with tape). Most fitters will agree that it is better to let clients shoot their own gun, if possible, as they shoot more naturally.
Pattern plate
Whether it’s your own gun or the try gun, once the fitter is satisfied that the measurements are okay, he will then take you to the pattern plate, which is a big steel plate, erected upright and coated with whitewash. It’s a simple but tremendously effective and useful aid.
Typically, the fitter will start you off at 16 yards from the plate and he might spend up to 15 minutes getting you to stand and mount correctly. It’s pointless proceeding if the mounting skills are not up to much – a full choke at 16 yards doesn’t lie and you can quickly see if the gun is shooting off point of aim. Once he is happy with this then he will take you back to the 40 yard mark, which is a range that covers most driven game, and one which will highlight the quality of the gunfit.
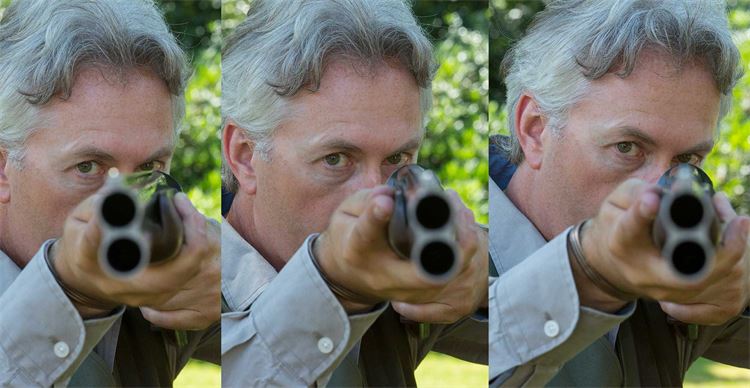
You will then fire a sequence of shots at the aiming mark. The fitter may make small adjustments to the try gun at this point. And if there is still anything amiss, he will check that the gun is unloaded and ask his client to dry mount the gun. The fitter will then look down the barrels from the muzzles to check the position of the eye over the top of the breech. Only a fitter should do this – do not try it at home.
Once both you and the fitter and are happy with what you see on the plate then it’s time to move onto the shooting ground to tackle a variety of clays. When the session is complete and both of you are satisfied with the result, you will then retire to the gunroom where the fitter will take the measurements from the try gun and write out a fitting sheet for you (both parties will have a copy). The gun will then be adjusted to the measurements on the fitting sheet – a stock can usually be bent accordingly.
Triggers
At some point during the appointment, it would be a good idea to get the fitter to check the trigger pulls on your gun. Again if these are too heavy it could be seriously affect your shooting without you realising. Standard pulls are: Single trigger 3½lb first barrel and 3¾-4lb second barrel; and double trigger 3lb and 4lb. Anything heavier than this can induce a flinch or checked swing.
Grip
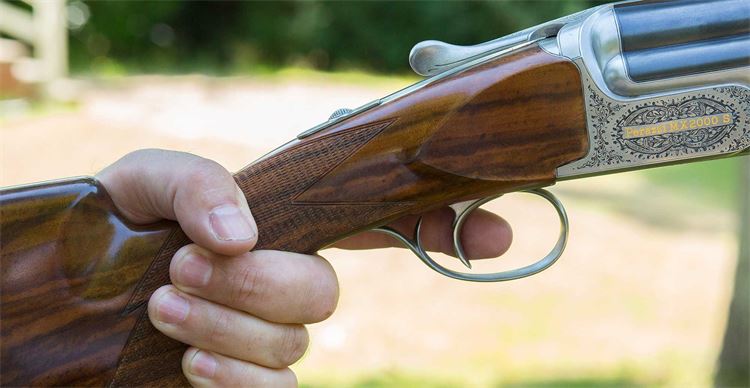
How well a gun fits your hand is important for your own comfort and can affect your gunmount. It is determined by a number of measurements: 1) diameter or circumference of the grip, 2) grip length (from trigger blade to the bottom front edge of the grip), 3) grip depth (from the nose of the comb to the bottom of the grip) and 4) nose of comb to breech face.
Does my gun look big in this?
Good shooting stems from consistent and accurate gunmount, sound technique and footwork, and a gun that fits like a glove. But something that is often overlooked is the fact that all of these things may change over time. Your posture and build will invariably change as you age and either put on or lose weight. So it’s important to recognise that having your gun fitted when you are 30 doesn’t necessarily mean that it will still fit you in 10, 20 or 30 years’ time.
When you find that your shirts are a bit tight around the collar and your trousers are restricting the flow of blood to your nether regions, you can either blame the washing machine, or accept that you have wintered well and buy some shirts with a larger collar size and breeks with a little more room. But will you even consider the fact that your gun may no longer fit as well? You really should.
And maybe you should stay off the mince pies for a while, too.
Related Articles
Get the latest news delivered direct to your door
Subscribe to Fieldsports Journal
Elevate your experience in the field with a subscription to Fieldsports Journal, the premium publication for passionate country sports enthusiasts. This bi-monthly journal delivers unparalleled coverage of game shooting, fishing and big game across the UK and beyond.
Each issue offers a stunning collection of in-depth features, expert opinions and world-class photography, all presented in a timeless yet contemporary design.
Save 10% on shop price when you subscribe, with a choice of packages that work for you. Choose from Print & Digital or Digital only with each journal delivered directly to your door or via the app every other month, plus access to past issues with the digital back issue library.
