- More
-
-
- No posts selected.
-
-
-
★ Win a Schöffel Country shooting coat for everyone in your syndicate worth up to £6,000! Enter here ★


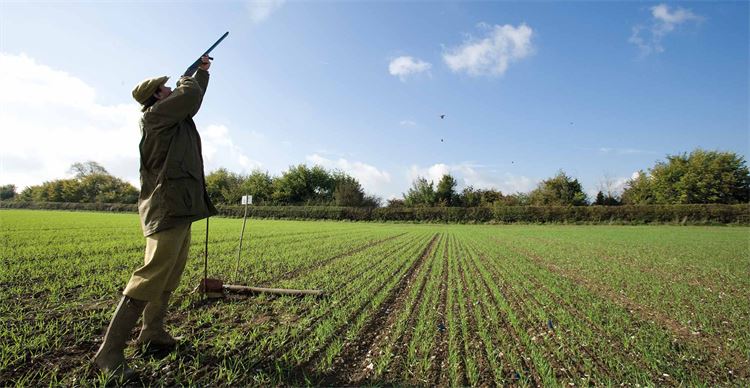
Twenty top tips for partridge shooting
Invaluable tips that could transform your partridge shooting success.
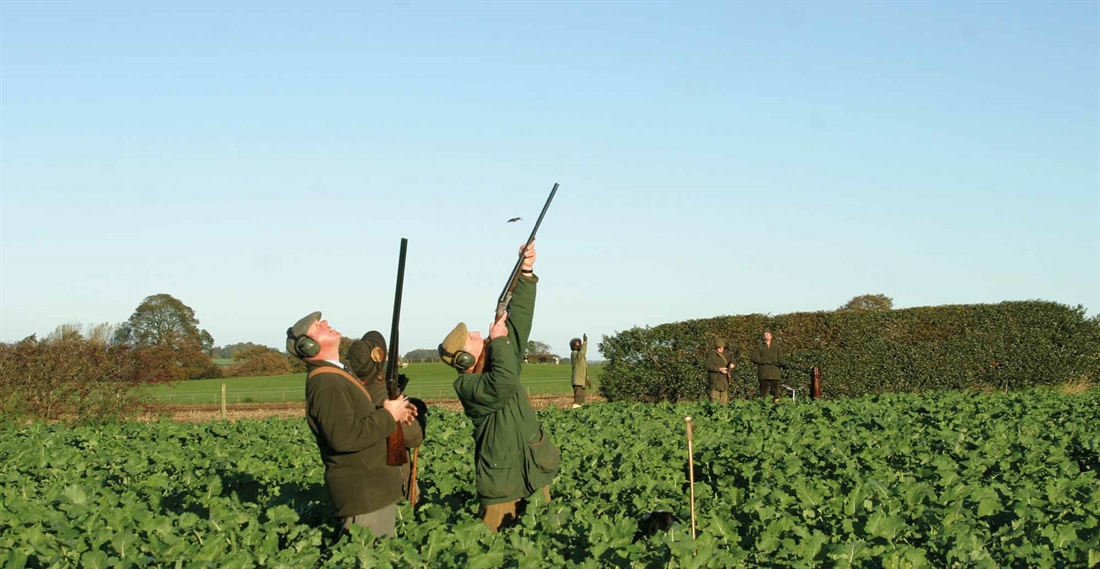
Over tall hedges and shelter belts
1: Guns and ammunition
Either side-by-side or over-under, calibre 28, 20, 16 or 12-bore.
Barrel length: 25”-30”.
Choke: Open chokes between improved and half.
Ammunition: Felt wads – 28 gauge, 21gram-28gram, number 6 shot; 20 gauge, 21gram-28gram number 6-7 shot; 12 gauge, 24gram-30gram, number 6-7 shot.
2: Keep the noise down
Try to be quiet as you walk to your peg, i.e. shooting position in the line. Refrain from slamming car doors or chatting loudly to your neighbours. Save it for the drinks break.
3: Pay attention
Your host or shoot organiser will probably ask all the Guns to move quietly and swiftly into their shooting position. Try to respect their wishes, as it is for good reason.
4: Don’t dawdle
Once at your peg swiftly get organised, ready to begin.
5: Use your fieldcraft
Try to anticipate where your birds might come from. Check the line of Guns and your safe angles of fire in front and behind the line.
6: Get into the swing of things
Before the drive gets underway, have a few practice mounts both in front and behind. Also practise a little footwork before the drive gets underway, so as and when you are called into action you are not caught napping.
7: Remember your lead hand
Remember the importance and emphasis that your lead hand is to do the pointing. For the right-handed shot, use the left hand to point the barrel to the bird, and for the left-handed shot the right hand. Remember also to trust your instinct and take your shots on first aim – ie. once the stock is firmly in your cheek and shoulder and the picture looks right, take your shot without hesitation.
8: Keep your head down
Keep the gun moving after you have taken your shot with your cheek still in firm contact on the stock until the bird tumbles from the sky.
9: Stay focused
Great shooting is no accident – it comes from a combination of firm focus on your chosen bird, good footwork and the timing of the shot. I cannot over-emphasise the importance of footwork and using your lead hand to point and drive your gun.
10: Don’t forget your feet
For right-handed shots, the bird on the right hand side is the tough one. Remember to move your feet swiftly to where you plan to kill your bird. If the ‘Great Shots’ always seem to have so much time, it’s because they make time by anticipation and perfect footwork to get themselves in position that bit sooner than other mere mortals. Great shooting is no accident – many hours of dedicated practice have gone in to making the whole process smooth and polished. The saying is so true – you only get out what you put in.
11: Make it instinctive
You can help your own cause by a little practice in the comfort of your own home. Practice both your footwork and gun mounting skills. With regards to your footwork, moving both feet and gun together will cause an ungainly and unco-ordinated movement with limited success. Move your feet first into position so you are balanced to start the shot, then lock the muzzle to the bird before raising the stock to your cheek and shoulder. The shot is taken without hesitation, with a positive finish to the end of the shot – ie. keep the gun moving after you have taken your shot! Wherever you plan to take your shot, your hip needs to be facing in line with this. So for side angle shots, you will have needed to move your feet so as to point your hip in line with the sweet spot.
12: Practice makes perfect
Gun mounting practice. Use a pair of snap caps and practice both your gun mounting and pulling the trigger with a moving gun. This will pay huge dividends and greatly improve your chances of success in the field.
13: Follow through
Remember to keep your cheek on the stock for an appreciable time after you have pulled the trigger so you are training yourself to finish the shot, ie. follow through. Remember it’s the finish of the shot that kills the bird.
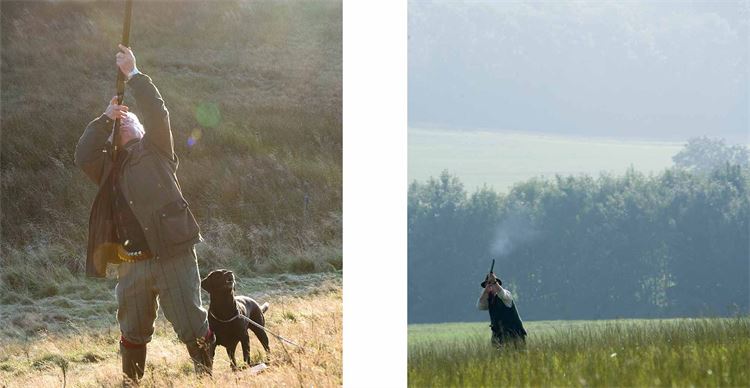
14: Shoot early
As long as it is safe to do so, attack your birds in front of the line. If it is unsafe to do so, you can let the bird pass through the line and position your feet for a safe shot behind as the partridges retreat, provided your host has said that it is OK to shoot behind.
For high valleys
15: Guns and ammunition
Either side-by-side or over-under.
Barrel length: 28”-32”.
Choke: quarter-half. For extremely high partridges, three quarter-full choke is recommended.
Ammunition: 28 gauge, 28 gram, number 5 shot; 20 gauge, 28-30gram, number 5 shot. 12 gauge, 30gram-32gram, number 5 shot.
16: Shorten your swing
For high valley partridges, use the same technique as if you were shooting high pheasants, but with less lead required and a slightly shorter swing.
17: Shoot off your back foot
And for angled high crossing shots, move your feet, pointing your lead hip in line with where you plan to take your shot. By taking angled high driven birds and turning them into high crossing shots it gives you the ability to keep the bird still in view.
18: Maintain the line-of-flight
Remember to keep your upper body and eye line and muzzles of your gun parallel to the line of the bird. It is very easy to rainbow off the bird’s line, resulting in your shot ending up beneath the bird. Hold up on the line of the bird, using your lead hand to keep the gun moving on the true line of the bird’s flight.
19: Don’t lose focus
Stay in the shot for longer than you think – ie. a nice smooth follow through after the shot has been taken. Again, keep your cheek firmly on the stock until you see the bird start to fall.
20: Maintain your mount
Remember, keeping the stock in the cheek helps greatly in retaining a picture in your eye of where you felt you were pointing the gun relative to the bird when you achieved success (‘picture memory’). Your consistency in all forms of shooting stems from this. It’s the eye glued unwaveringly on the bird and the gun’s movement at the finish of the shot that kills the bird.
Related Articles
Game shooting
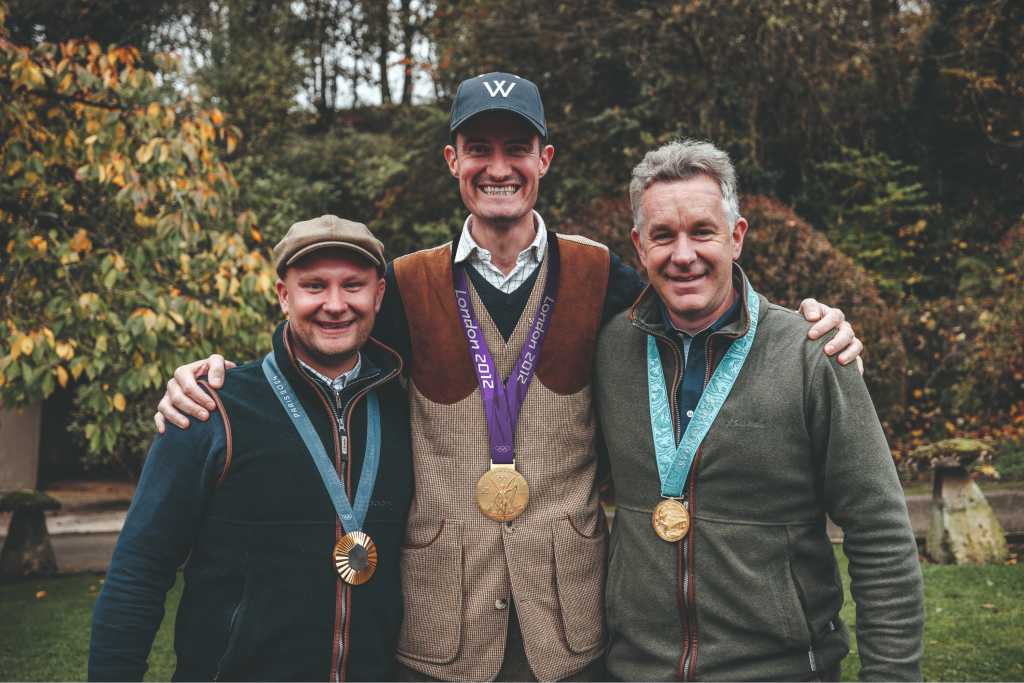
Olympic gold medallists shoot at Brimpsfield Park
Matt Kidd travels to a Cotswolds shoot with three Olympic gold medallists for a spectacular day's game shooting
By Fieldsports Journal
Game shooting
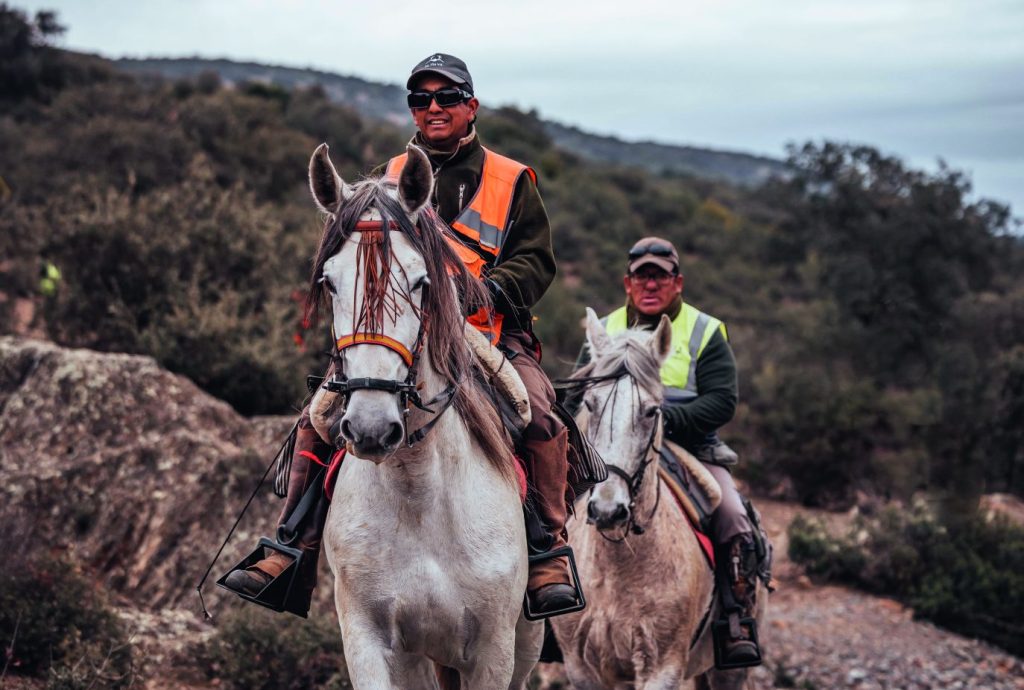
Partridge shooting in La Nava, Spain
Extend your game shooting season by taking a trip to one of Spain's iconic partridge shoots, by Matt Kidd.
By Fieldsports Journal
Get the latest news delivered direct to your door
Subscribe to Fieldsports Journal
Elevate your experience in the field with a subscription to Fieldsports Journal, the premium publication for passionate country sports enthusiasts. This bi-monthly journal delivers unparalleled coverage of game shooting, fishing and big game across the UK and beyond.
Each issue offers a stunning collection of in-depth features, expert opinions and world-class photography, all presented in a timeless yet contemporary design.
Save 10% on shop price when you subscribe, with a choice of packages that work for you. Choose from Print & Digital or Digital only with each journal delivered directly to your door or via the app every other month, plus access to past issues with the digital back issue library.